If you’re staring up at a bumpy, outdated popcorn ceiling and wondering how to modernize your space without wrecking your drywall, you’re not alone. Popcorn ceilings were once the trend for mid-century homes, but now they often make a room feel old and dull. Fortunately, removing them can breathe new life into your space as long as you do it right.
This step-by-step guide will walk you through how to remove a popcorn ceiling without damaging the drywall, keeping the project budget-friendly, DIY-friendly, and stress-free. Along the way, we’ll also share tips to help you achieve a smooth finish that’s ready for paint or new texture.
Why People Remove Popcorn Ceilings
Aside from looking outdated, popcorn ceilings can collect dust and are hard to clean. Some even trap odors or make rooms feel darker because their texture scatters light unevenly. If you’re planning to sell your home or just want a more modern look, removing the popcorn is a simple way to boost value and visual appeal.
Test First: Safety Comes First
Before you start scraping, it’s important to test the ceiling material for asbestos, especially if your home was built before 1985. Popcorn ceilings installed in the 70s and 80s often contain asbestos, a hazardous material that should only be handled by professionals.
You can buy an asbestos test kit or hire a local certified inspector. If the test comes back positive, don’t continue on your own. Contact an asbestos abatement contractor to remove it safely.
Gather the Right Tools and Materials
Once you’ve confirmed that the ceiling is asbestos-free, gather the essentials to get started. You’ll need:
- Plastic sheeting or drop cloths
- Painter’s tape
- A garden sprayer or pump sprayer
- A wide putty knife or ceiling scraper
- A step ladder
- A dust mask or respirator
- Safety goggles
- Protective clothing
- Joint compound for repairs
- Sanding tools
- Primer and paint
Prep the Room Like a Pro
Removing popcorn ceiling is messy, so proper preparation is key. Start by clearing out furniture and light fixtures. Cover the floors and walls with plastic sheeting to catch the falling debris. Tape off edges, cover outlets, and make sure your HVAC vents are sealed so dust doesn’t spread through the house.
Turn off power to any ceiling fixtures or fans. Safety first!
The Moisture Method: Your Best Friend
The trick to removing popcorn ceiling without harming the drywall is water. Dry-scraping might sound faster, but it often leads to torn drywall paper, gouges, or extra repair work.
Instead, fill your garden sprayer with warm water and lightly mist a small section about 4×4 feet at a time. Let it soak for 10–15 minutes. This softens the texture and makes it easier to scrape off cleanly. Don’t oversaturate, or you risk damaging the drywall.
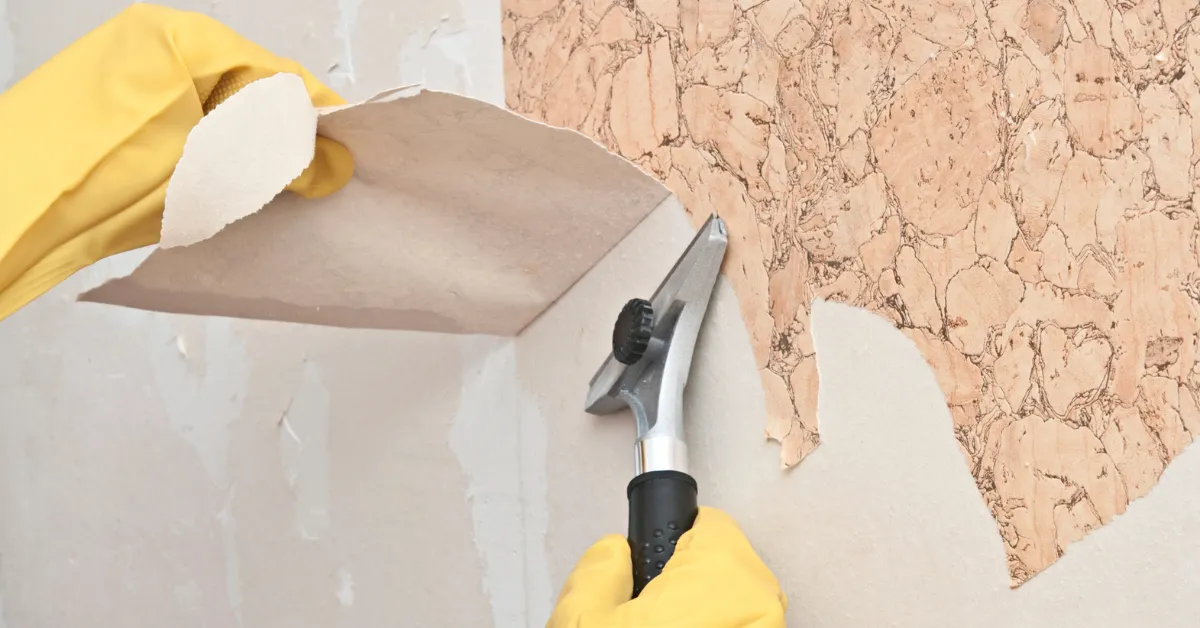
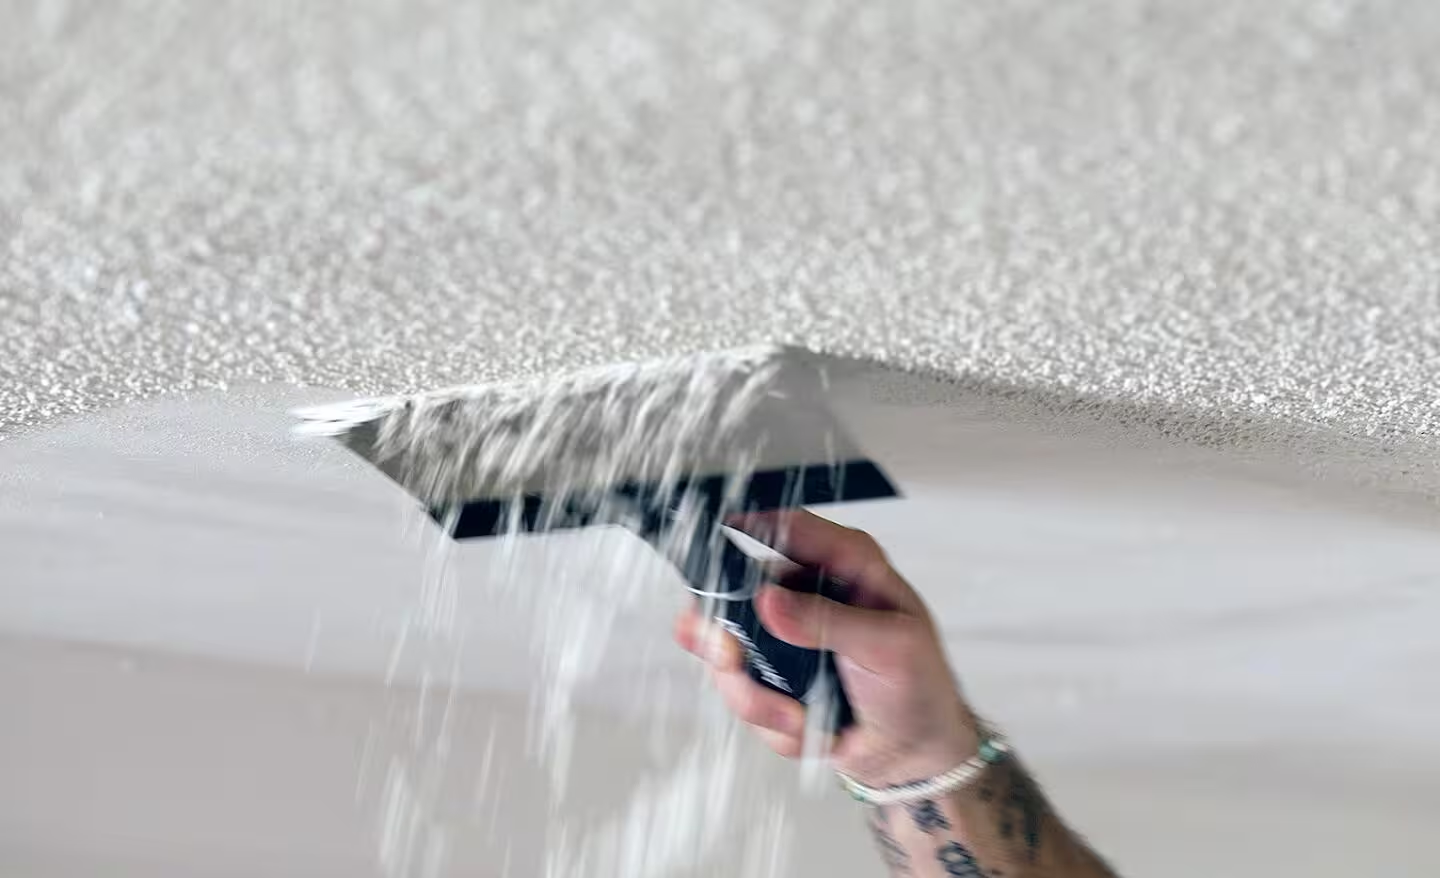
Time to Scrape But Gently
Using your wide scraper or putty knife, begin to gently peel away the softened popcorn texture. Keep the blade at a low angle and use light pressure. If the texture resists or feels dry, re-mist and wait a bit longer.
The goal here is to lift the popcorn off cleanly, without tearing into the drywall beneath. Take your time rushing can lead to unnecessary damage.
Smooth It Out
Once the texture is removed, your ceiling may look uneven or have minor imperfections. Don’t worry, this is normal. Use a sanding pole or sanding sponge to gently smooth the surface. For deeper imperfections, apply a light coat of joint compound, let it dry, and sand it again for a flat, clean finish.
This is also the time to inspect your ceiling for small nail pops, cracks, or holes, and patch them as needed.
Prime and Paint
After the surface is smooth and dust-free, apply a high-quality primer to seal the drywall and prepare it for paint. This step is essential raw drywall is porous and will absorb paint unevenly if you skip priming.
Once the primer dries, you can either apply flat white ceiling paint for a modern look or opt for a knockdown texture or orange peel texture if you want a bit of visual depth. Both are more modern alternatives to popcorn and still hide small imperfections well.
Common Mistakes to Avoid
Avoid scraping dry. This can cause scratches, torn paper, and excessive repairs.
Don’t skip the prep. Plastic sheeting makes cleanup much easier and protects your flooring.
Be careful around corners and joints. These areas are the most vulnerable to damage during scraping.
The End Result: A Brighter, Cleaner Ceiling
Once the popcorn is gone and your ceiling is freshly painted, the room instantly feels brighter, taller, and cleaner. Most importantly, by using the right techniques, you’ve avoided damaging your drywall a mistake that could cost you extra time and money in repairs.
This project takes patience, but the payoff is well worth the effort. Removing popcorn ceiling the right way not only improves aesthetics but also helps maintain the integrity of your home’s structure.
Final Thoughts
Learning how to remove popcorn ceiling without damaging drywall is all about moisture, patience, and the right tools. With careful prep and gentle scraping, you can turn a dated ceiling into a smooth, modern feature without the stress of repair work.
Whether you’re remodeling your home, prepping it for sale, or just tired of looking at that bumpy texture, this is a DIY upgrade that delivers big visual impact for a relatively small investment.
For homeowners looking to refresh their space, Many Colors recommends this simple change to make the entire room feel like new without ever touching the studs or spending a fortune.
Whether you’re updating a single room or remodeling your entire home, smooth ceilings can significantly improve the overall aesthetic and value of your property. By doing the job carefully, you’ll avoid costly drywall repairs and get professional-looking results without the professional price tag.