Removing old wallpaper can feel like a daunting task, especially if you’re worried about damaging your walls in the process. Whether you’re refreshing your space with new wallpaper installation, planning a bold wall mural, or preparing for interior painting, learning how to remove old wallpaper properly is essential. If you do it right, you’ll have smooth, clean walls ready for a brand new style — with no unsightly holes, gouges, or sticky residue left behind.
In this guide, we’ll walk you through every step of how to remove wallpaper, from gathering the right tools to prepping your space and using proven techniques that protect your walls.
Why Proper Wallpaper Removal Matters
Many homeowners rush through wallpaper removal or skip important steps, which often leads to damaged drywall, uneven surfaces, or stubborn glue that ruins the final finish. If you’re planning wallpaper installation, a decorative wall mural, or even interior painting, having a properly prepped wall is critical for professional results.
Tools You’ll Need to Remove Wallpaper
Before you get started on how to remove old wallpaper, gather the following tools and materials:
- Drop cloths or plastic sheeting
- Painter’s tape
- Putty knife or wallpaper scraper
- Utility knife
- Spray bottle or garden sprayer
- Sponge and bucket
- Wallpaper scoring tool (optional)
- Wallpaper removal solution (store-bought or homemade)
- Clean rags or towels
- Gloves and safety goggles (recommended)
Having the right tools makes a huge difference in how to remove old wallpaper easily and safely.
Step 1: Prepare the Room
Proper prep work protects your floors, trim, and ceiling. Removal can be messy, so cover nearby surfaces carefully.
- Move furniture away from the walls.
- Cover floors and baseboards with drop cloths.
- When preparing the room, secure plastic sheeting with painter’s tape to keep surfaces safe and clean.
- Turn off power and remove outlet covers or light switch plates to protect them from water.
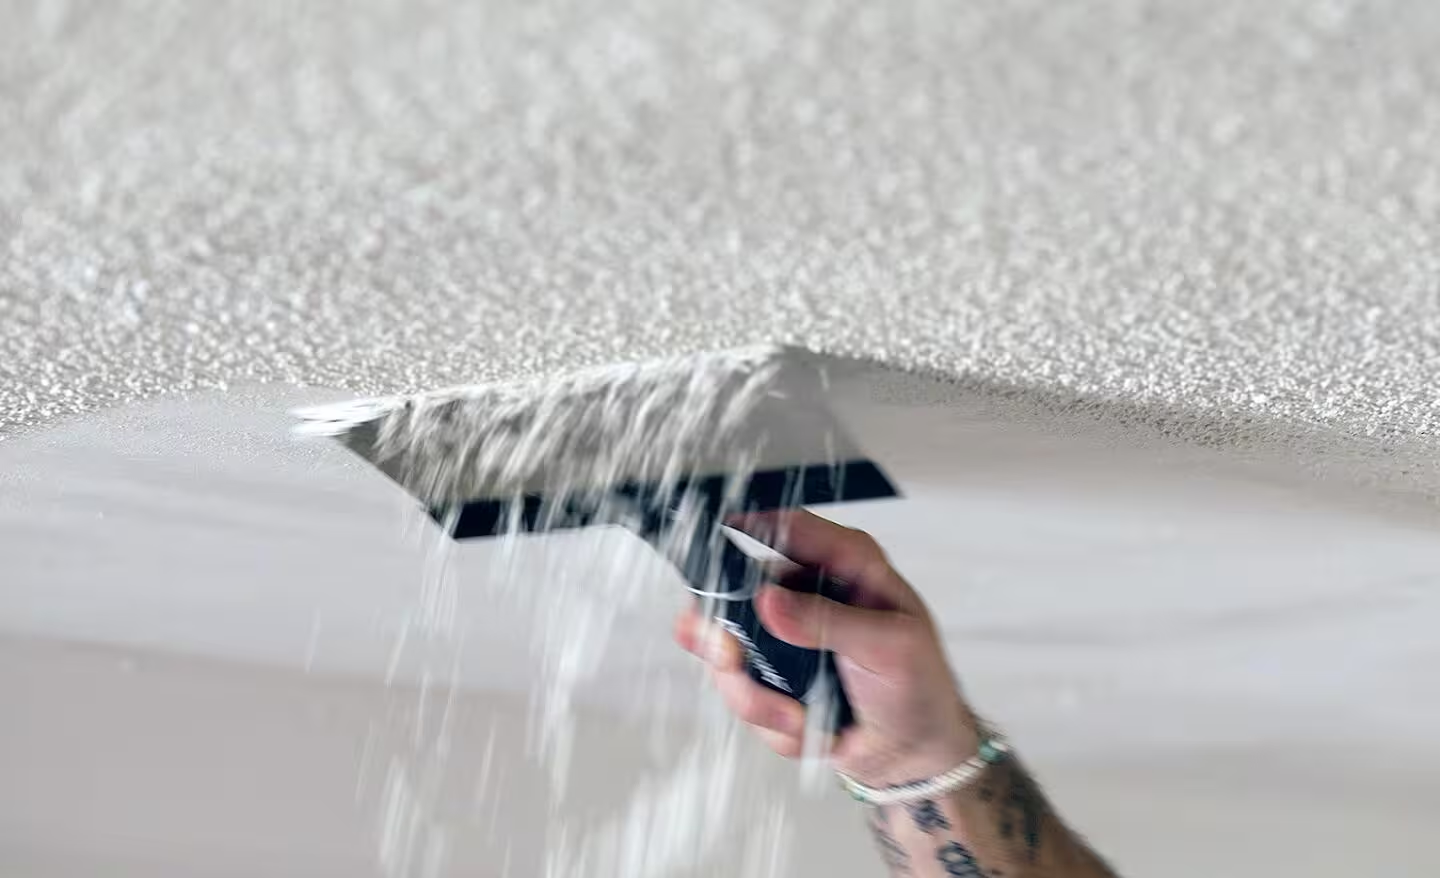
If you plan to do ceiling removal work too — like scraping a popcorn ceiling — complete that first to avoid debris falling on freshly cleaned walls.
Step 2: Test the Wallpaper
Not all wallpaper is created equal. Some peel away easily; others require more effort. Start by testing a small corner.
- Use a utility knife to loosen a seam or edge.
- Try pulling gently. If it peels off easily, you may be able to dry-strip it.
- If it tears or leaves backing behind, you’ll need to use a removal solution.
Step 3: Score the Wallpaper (If Needed)
If the wallpaper is tough or has a vinyl coating, lightly score it so the removal solution can soak through the surface and break down the adhesive more effectively.
- Lightly run a wallpaper scoring tool over the surface in a circular motion.
- Don’t press too hard — you want to perforate the paper, not gouge the wall underneath.
Step 4: Apply a Wallpaper Removal Solution
There are several options for softening the adhesive:
Store-bought removers: These are pre-mixed and designed to break down glue quickly.
DIY solution: For a simple DIY solution, combine warm water with a few drops of dish soap or add a cup of vinegar to help loosen the adhesive.
- Fill a spray bottle or garden sprayer.
- Generously mist a section of wallpaper.
- Let it soak for 10–15 minutes so the adhesive loosens.
Work in small sections to keep the wallpaper wet but not soggy. That’s one of the best tricks for how to remove old wallpaper without causing any damage to your walls.
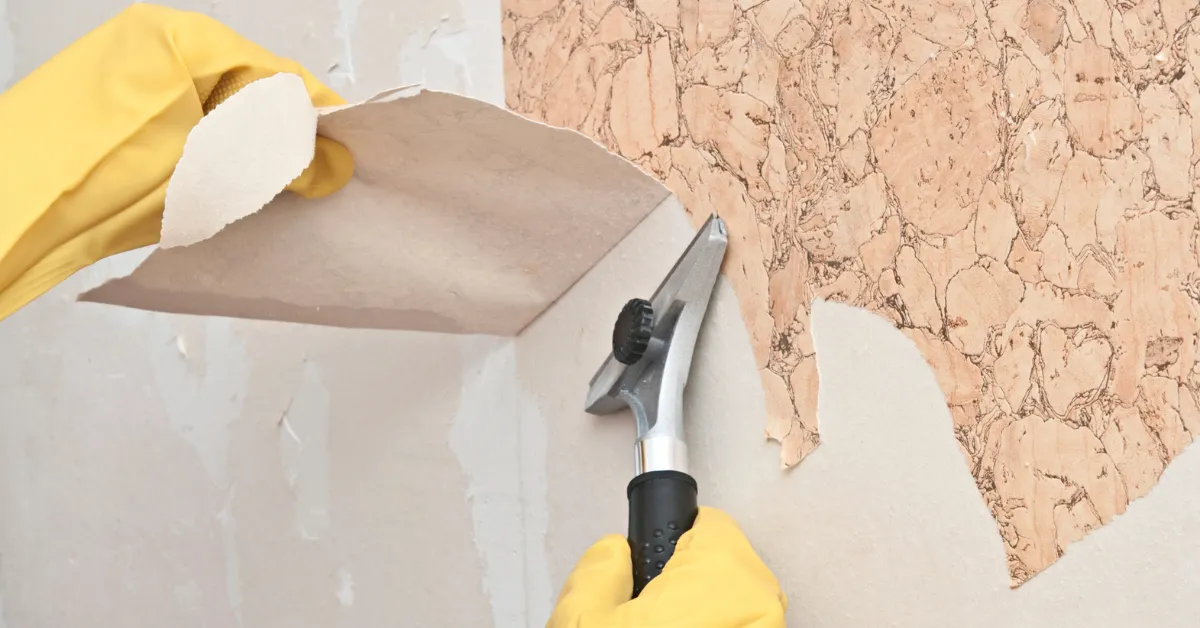
Step 5: Gently Scrape Off the Wallpaper
Once the glue softens, start scraping:
- Use a sharp utility knife to carefully lift a corner or seam of the wallpaper.
- Hold it at a slight angle and push gently under the paper.
- Work slowly to lift the wallpaper in strips without gouging the drywall.
If pieces stick, re-spray with solution and wait a few more minutes. Patience is crucial for how to remove old wallpaper properly.
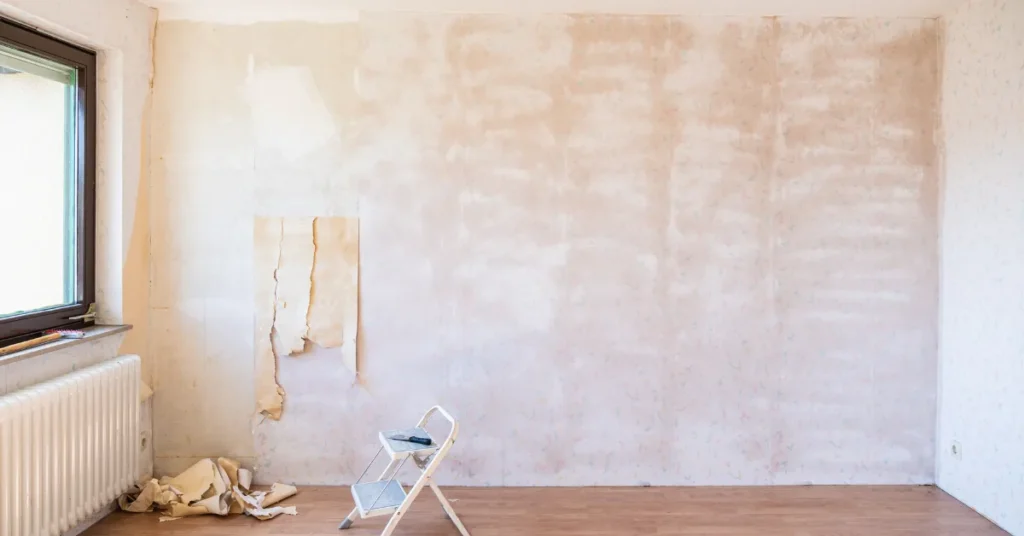
Step 6: Remove Leftover Adhesive
After the wallpaper is gone, adhesive residue often remains. Don’t paint or do new wallpaper installation until it’s gone.
- Wipe down the walls using warm water and a soft sponge to remove any leftover residue.
- For stubborn glue, use a mixture of warm water and vinegar or a commercial adhesive remover.
- Rinse and repeat until the walls are clean.
Step 7: Inspect and Repair the Walls
After removal, inspect for minor dings or tears. Use joint compound or spackle to fill imperfections.
- Sand smooth once dry.
- Use a damp cloth to gently wipe away any remaining dust and debris from the wall surface.
This leaves a perfect surface for interior painting, fresh wallpaper installation, or even a striking wall mural.
Additional Tips to Avoid Wall Damage
Here are a few expert tips for how to remove old wallpaper safely:
Peel wallpaper gently at a low angle to protect walls.
Keep the paper damp to loosen glue.
Use plastic scrapers instead of metal if you’re worried about gouging drywall.
Avoid harsh chemicals unless absolutely necessary.
Don’t rush! Let the remover soak fully before scraping.
When to Call a Pro
If you have multiple layers of wallpaper, very old adhesive, or damaged plaster, hiring a professional may be worth it. They have the experience, tools, and techniques to remove wallpaper and prepare walls without causing harm.
Some contractors offer full services including ceiling removal, wallpaper installation, and interior painting, saving you time and effort.
Ready for a Fresh New Look?
Knowing how to remove old wallpaper means your walls stay smooth, clean, and damage-free — ready for whatever you have planned next. Whether it’s a new wall mural, modern wallpaper installation, or a fresh coat of paint, a well-prepped wall makes all the difference.
With the right tools, a bit of patience, and these proven steps, you can master how to remove old wallpaper and transform your space with confidence.