Homes constructed during the 1950s through the 1980s often featured popcorn ceilings as a popular design element. Also known as acoustic ceilings or stucco ceilings, these textured surfaces were designed to hide imperfections and absorb sound. But today, many homeowners want to update their spaces with a smooth, modern look. If you’re wondering how to popcorn ceiling removal works, what’s involved, and whether you should tackle it yourself or hire a pro, this guide covers everything you need to know.
Why Remove a Popcorn Ceiling?
There are several reasons why homeowners consider popcorn ceiling removal. First, these ceilings can make a home look dated. Removing them can instantly modernize a room and even increase property value. Another reason is health and safety—older popcorn ceilings may contain asbestos, which poses serious health risks when disturbed. Finally, popcorn ceiling texture collects dust and cobwebs easily and is difficult to clean, making it less appealing for today’s homeowners.
Check for Asbestos First
Before you start learning how to popcorn ceiling removal is done, it’s essential to test for asbestos if your home was built before 1980. Asbestos was commonly used in textured ceilings for its fire-resistant properties. Improper handling can release toxic fibers into your home’s air.
How to test for asbestos:
- Purchase an asbestos test kit or hire a certified professional.
- Gently scrape a small sample of the ceiling texture and send it to a lab.
- Never sand or scrape large areas without results—always wait for confirmation.
If your ceiling does contain asbestos, popcorn ceiling removal must be handled by licensed abatement professionals. DIY popcorn ceiling removal is not safe if asbestos is present.
DIY vs. Professional Popcorn Ceiling Removal
Once you know your ceiling is asbestos-free, you can decide whether to remove the popcorn texture yourself or hire a professional. You can remove a popcorn ceiling yourself, but be prepared for a messy and time-consuming job. On the other hand, hiring professional Removal Services can help complete the job quickly and safely using the proper tools and techniques.
Factors to consider:
- Time: Removing a popcorn ceiling can take several days.
- Mess: The process creates a lot of dust and debris.
- Skill: If you have basic drywall skills, you can save money doing it yourself.
Tools and Materials Needed
If you decide to tackle popcorn ceiling removal on your own, you’ll need the right supplies:
- Plastic sheeting or drop cloths
- Painter’s tape
- Protective clothing, goggles, and a mask
- A garden sprayer filled with water
- A wide putty knife or ceiling scraper
- Ladder
- Sanding pole and sandpaper
- Joint compound and drywall knife (for repairs)
- Primer and ceiling paint
How to Popcorn Ceiling Removal | Step-by-Step
1. Prepare the Room
Clear the room of furniture or cover it completely with plastic sheeting. Protect your floors with drop cloths. Tape plastic sheets over walls, windows, and doorways to contain dust. Turn off HVAC systems to prevent debris from spreading.
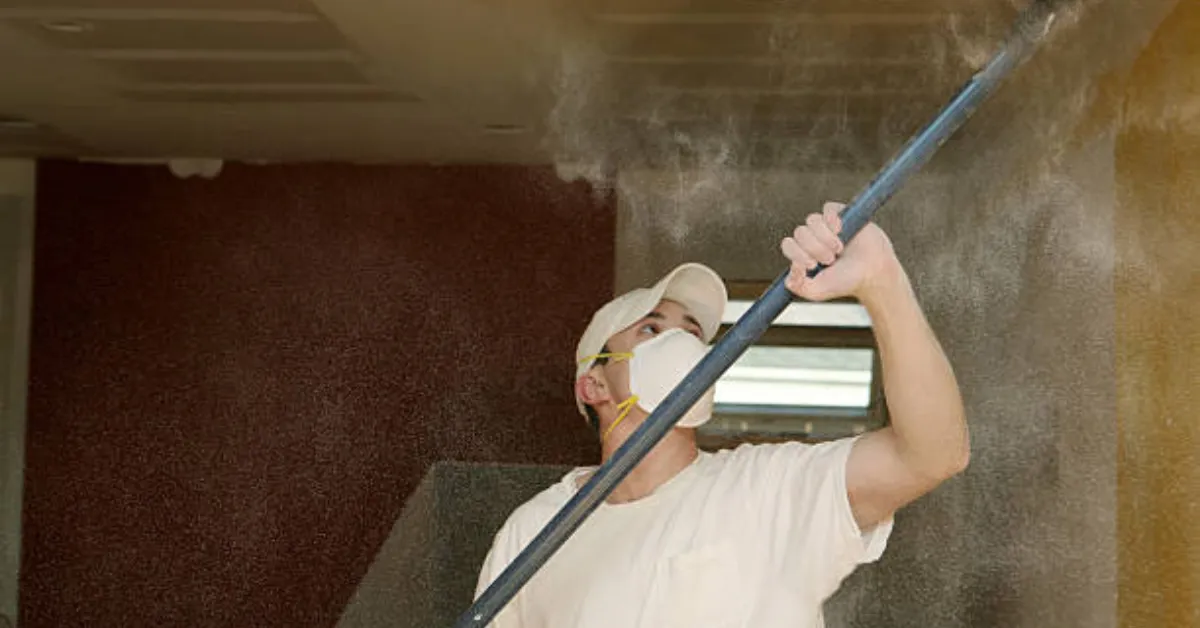
2. Wet the Ceiling
Fill a garden sprayer with warm water. Working in small sections, lightly spray the ceiling to saturate the popcorn texture. Allow 15–20 minutes for the moisture to break down the texture, but don’t overdo it—too much water can ruin the drywall beneath.
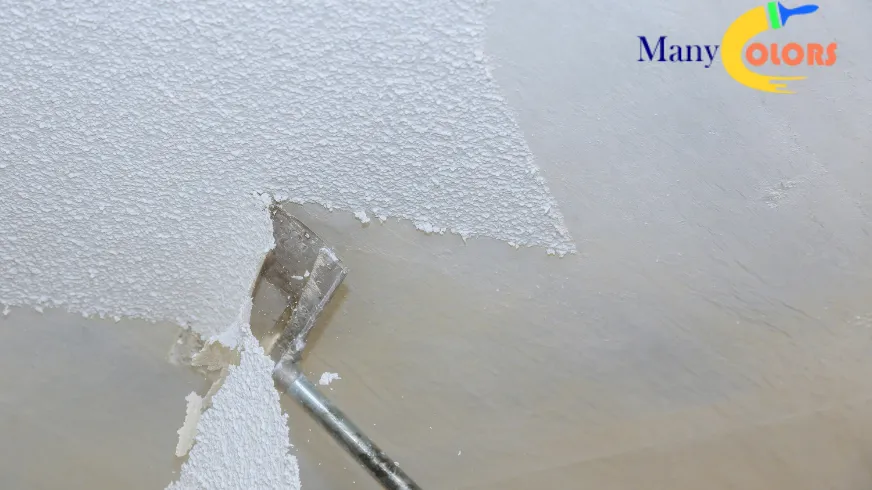
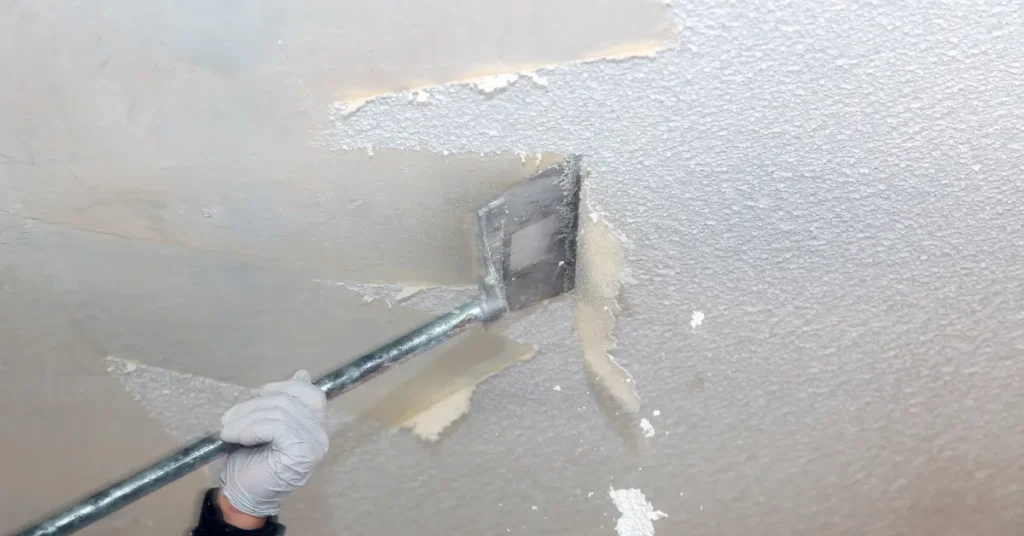
3. Scrape the Popcorn Texture
Using a wide putty knife or ceiling scraper, gently scrape the softened popcorn texture off the ceiling. Hold the scraper at a slight angle to avoid gouging the drywall. Work slowly and methodically, section by section.
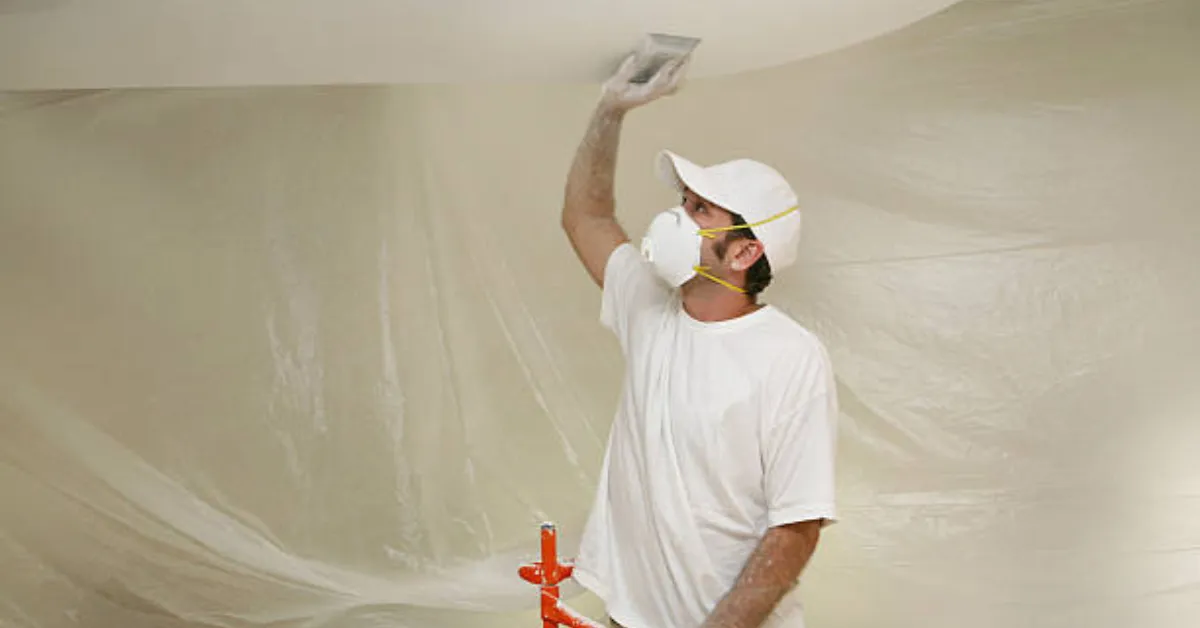
4. Repair Imperfections
After scraping, inspect the ceiling for dents, gouges, or nail pops. Use joint compound and a drywall knife to fill in imperfections. Let it dry, then sand the surface until it’s smooth and ready for paint.
5. Prime and Paint
Apply a high-quality primer to seal the newly smoothed ceiling. When the surface is completely dry, finish it off with a flat or matte ceiling paint for a crisp, updated appearance.
Tips for a Successful Ceiling Renovation
- Work in small sections to prevent the water from drying before you scrape.
- Wear protective gear to keep dust out of your eyes and lungs.
- Keep windows open for ventilation.
- Dispose of debris in heavy-duty trash bags.
- If the popcorn ceiling has been painted, removal may be harder—scoring the paint with a utility knife can help the water penetrate the texture.
When to Call a Pro
If you’re unsure how to popcorn ceiling removal safely, hiring a licensed contractor may be worth the investment. Professional ceiling renovation experts have specialized tools, proper training, and the experience to handle unexpected issues like hidden water damage or lead paint.
Smooth Ceilings, Modern Spaces
Learning how to popcorn ceiling removal works can seem intimidating at first, but with the right preparation, tools, and safety measures, it’s a manageable home improvement project for many DIYers. Whether you decide to tackle it yourself or hire a professional, removing old popcorn ceiling texture is one of the most effective ways to give your home an updated, cleaner look.
Final Thoughts
Now you know popcorn ceiling removal safely and effectively. Remember to test for asbestos, use the proper tools, and take your time for the best results. A smooth, modern ceiling is well worth the effort and can transform any outdated room into a stylish, fresh space.