Removing old wallpaper can feel like tackling a massive home project, but with the right approach, it doesn’t have to be stressful or damaging to your walls. Whether you’re renovating a single room or transforming your entire house, understanding how to handle Wallpaper Removal properly will save you time, effort, and money.
In this comprehensive guide, we’ll share proven methods, essential tools, and professional tips to help you achieve a smooth, clean wall ready for a fresh new look.
Why Proper Wallpaper Removal Matters
Before we dive into the step-by-step process, let’s understand why it’s important to handle Wallpaper Removal with care. Many homeowners make the mistake of rushing this step, which can lead to torn drywall, stubborn adhesive residue, or costly repairs later.
Proper wallpaper stripping ensures:
- Minimal damage to drywall or plaster.
- Easier surface preparation for painting or new wallpaper.
- A cleaner, more professional finish for your renovated space.
Tools You’ll Need for Wallpaper Removal
Having the right tools on hand will make your Wallpaper Removal project far more efficient. Here’s a basic checklist:
Drop cloths or plastic sheets
Painter’s tape
Scoring tool (or wallpaper perforator)
Wallpaper scraper or putty knife
Spray bottle or garden sprayer
Wallpaper removal solution (store-bought or homemade)
Sponge or cloth
Bucket of warm water
Mild dish soap or vinegar
Ladder (if you’re working with high walls)
Safety goggles and gloves
Step 1: Prepare the Room
Proper preparation is key to efficient wallpaper removal. Start by moving furniture away from the walls and covering floors with drop cloths or old sheets to protect against water damage and sticky residue. Use painter’s tape to secure coverings around trim, outlets, and baseboards.
Next, turn off the power to any outlets or switches on the wall you’re working on to prevent electrical hazards while using water.
Step 2: Test the Wallpaper Type
Not all wallpapers are the same. Some peel off easily, while others have stubborn backing that clings to the wall. Use a putty knife to lift a corner of the wallpaper and gently pull it back.
- If it peels away in sheets: Lucky you! This is likely peelable wallpaper and you can remove it dry.
- If only the top layer comes off: You’ll need to remove the paper backing separately using water or a wallpaper removal solution.
- If it tears easily: It’s probably traditional wallpaper that requires soaking or steaming.
Step 3: Score the Wallpaper
For stubborn wallpaper, scoring is essential. Use a scoring tool to gently perforate the surface of the wallpaper in a circular motion. This helps the removal solution penetrate the adhesive underneath.
Be careful not to press too hard — excessive scoring can damage the drywall beneath.
Step 4: Apply Wallpaper Removal Solution
Add warm water and your chosen wallpaper removal solution to a spray bottle or garden sprayer. You can buy a commercial remover or make your own by mixing warm water with a few drops of dish soap or white vinegar.
Apply the solution generously to the scored wallpaper, working in manageable sections.. Allow the solution to soak in for 15–20 minutes to loosen the adhesive.
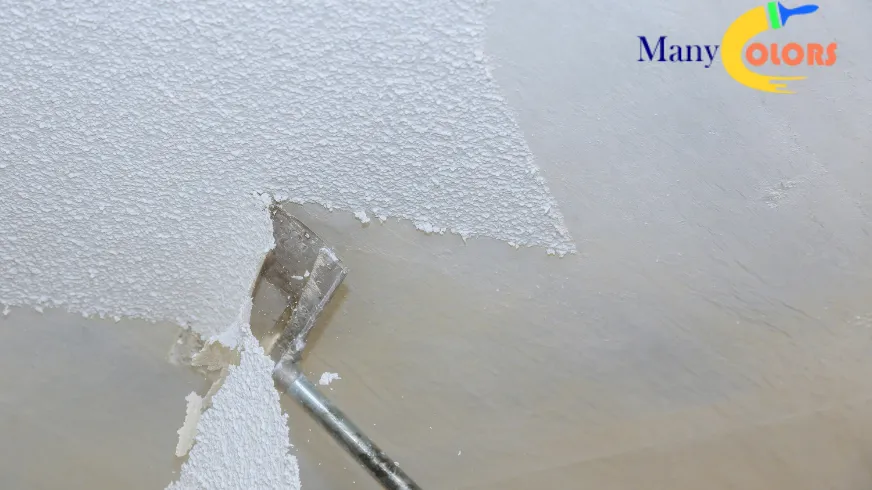
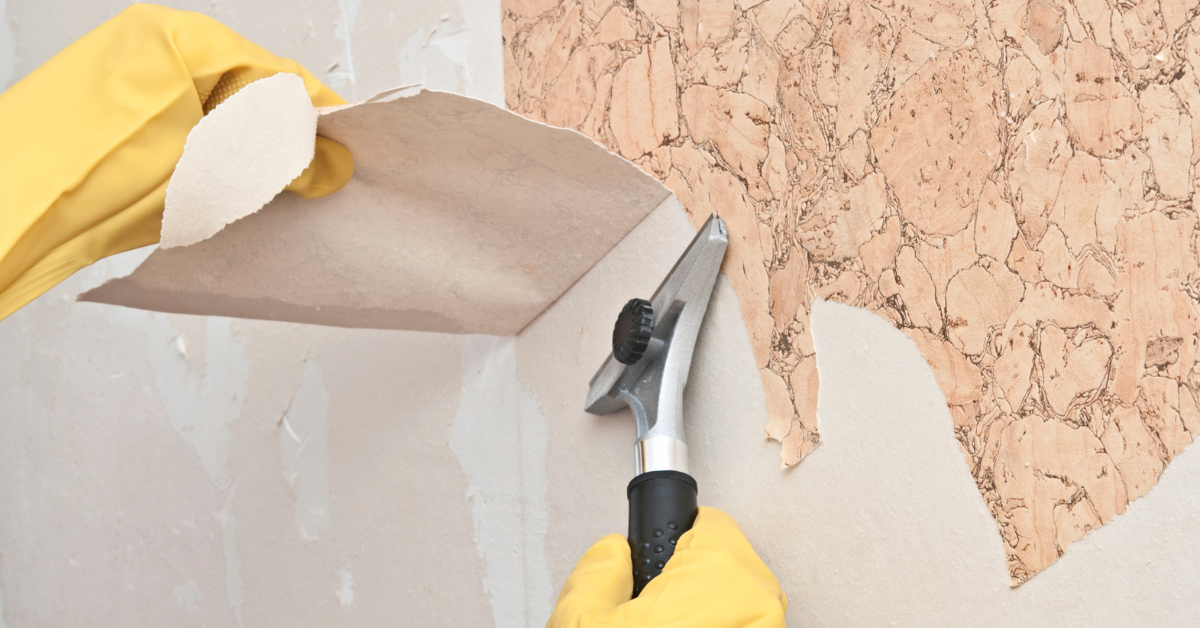
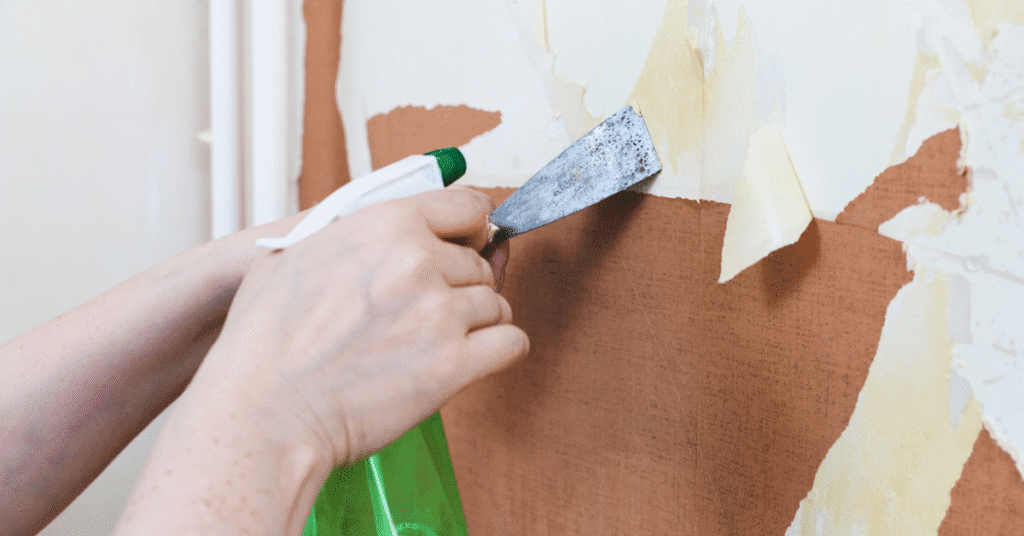
Step 5: Start Scraping
When the solution has loosened the adhesive, use a scraper or putty knife to softly lift the wallpaper edges. Work slowly, pulling the paper away as you go.
Try to keep the wallpaper wet while you work — this makes scraping easier and minimizes wall damage.
Step 6: Remove Residual Adhesive
Once the wallpaper is off, you’ll likely find leftover adhesive on the walls. Don’t skip this step — failing to remove glue residue can affect paint adhesion and leave unsightly bumps.
Use a sponge or cloth dipped in warm soapy water (or a vinegar solution) to scrub away the remaining paste. For stubborn spots, a wallpaper adhesive remover may help.
Step 7: Rinse & Dry
After all adhesive has been removed, wipe the walls with clean warm water to rinse off any remaining solution or residue.Wipe the walls dry with a fresh towel and give them time to air dry fully.
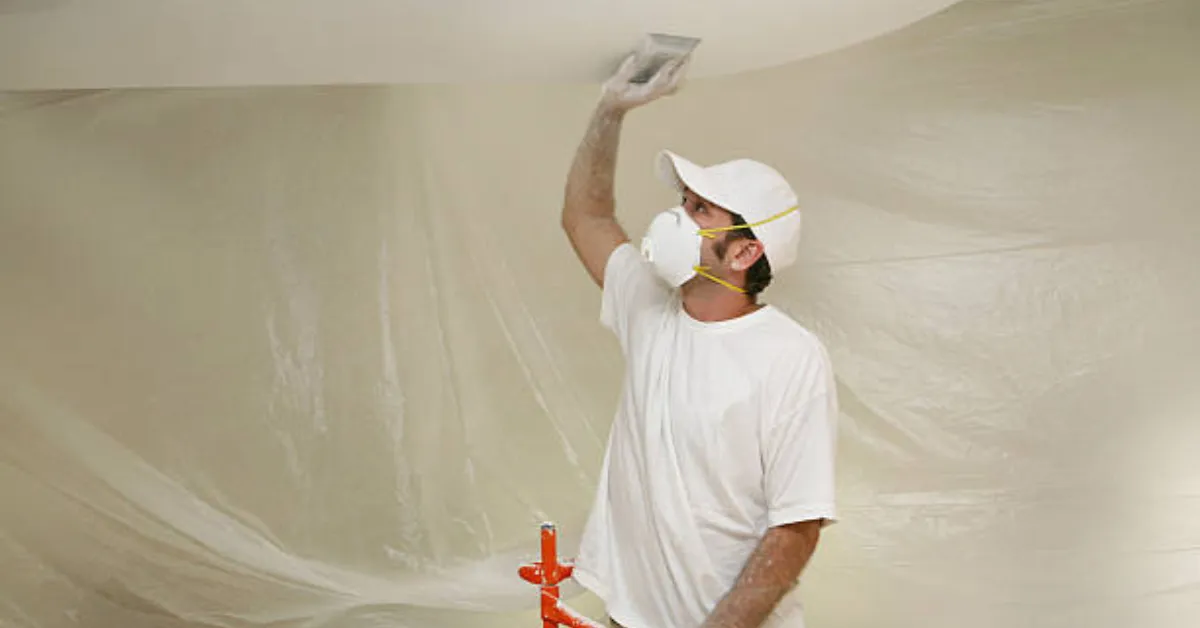
Step 8: Inspect & Repair
Once your walls are dry, inspect them for any damage. Small nicks or gouges can be patched with spackle or joint compound. Sand the repaired areas smooth once dry. This is an important part of proper wall prep before painting or installing new wallpaper
Additional Tips for DIY Wallpaper Removal
Work in Sections: Focusing on small areas at a time ensures the solution doesn’t dry before you scrape.
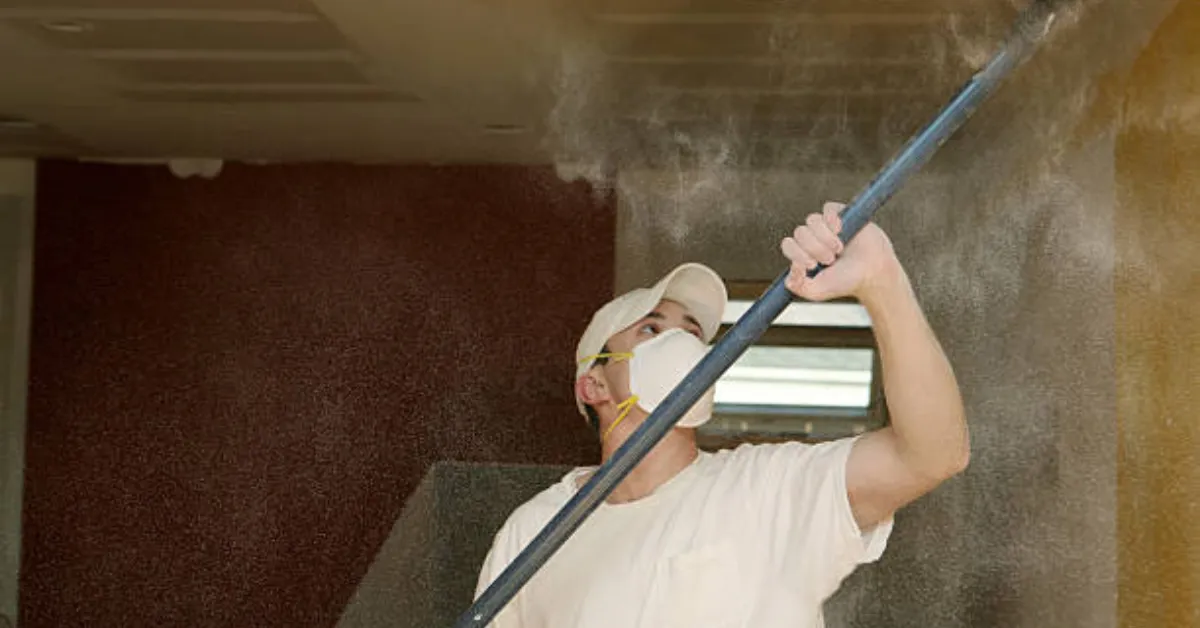
Use a Steamer for Tough Jobs: If hot water and solution don’t do the trick, renting a wallpaper steamer can help. A steamer softens old adhesive for easier stripping.
Protect Yourself: Wear safety goggles and gloves, especially if using chemical solutions.
Be Patient: Rushing can lead to unnecessary wall damage. Take your time for a cleaner finish.
When to Call a Professional
While many homeowners tackle DIY wallpaper removal, there are times when hiring a pro is the best option. Consider calling an expert if:
- The wallpaper is decades old and layered with paint.
- You suspect mold or mildew behind the wallpaper.
- You’re dealing with delicate plaster walls that could crumble easily.
- You simply don’t have the time for a labor-intensive project.
A professional wallpaper removal service has specialized tools, steamers, and experience to handle complex jobs efficiently and minimize mess.
Prepare for What’s Next
Once your Wallpaper Removal is done, your walls are ready for a new look. Sand any rough patches, prime the surface if you’re painting, and make sure it’s completely dry before applying new wallpaper or paint.
Final Thoughts
Proper Wallpaper Removal can seem daunting, but with the right tools, techniques, and a bit of patience, you can breathe new life into any room in your home. From prepping the room to repairing minor wall damage, each step ensures your next paint job or wall treatment goes on flawlessly.